My husband and I replaced the linoleum floor in our laundry room with hexagon peel & stick tiles last month. We spent less than $100 on this peel and stick linoleum flooring tile job, and it completely transformed the area. On Instagram and Facebook, I received several questions concerning the installation, and I’ll answer them all here! To learn how to apply hexagon peel and stick vinyl tiles tiles on your existing linoleum floor, continue reading.
Before installation, please read the approved tile instructions. Before installing your flooring, allow it to acclimatize for 48 hours in your house (65° – 85°F). The detailed instructions for this floor tile may be found here under the category “peel and stick.”

Step 1: Prep the Linoleum
Remove all appliances from the floor, scrape out any residual glue residue from the quarter-round trim, then sand the floor using a hand sander (too rough it up a bit). You might be able to keep and reuse your quarter-round molding, but ours shattered when we removed it, so we had to replace it afterward (step 8).
Step 2: Mop and Vacuum the Linoleum
Several times mop and vacuum the floor until it is completely clean. Otherwise, dust and debris might interfere with the ability of the peel & stick tile adhesive to attach to the previous flooring.
Step 3: Lay the Tile
Allow 48 hours for your new stick vinyl tile to acclimatize in your house before placing it. Before you start gluing your tiles down, plan out the basic arrangement. After approximately figuring out how to acquire 12 hexagons just on the left and right sides while avoiding having to cut incredibly narrow tile pieces, my husband began in the middle of the space.
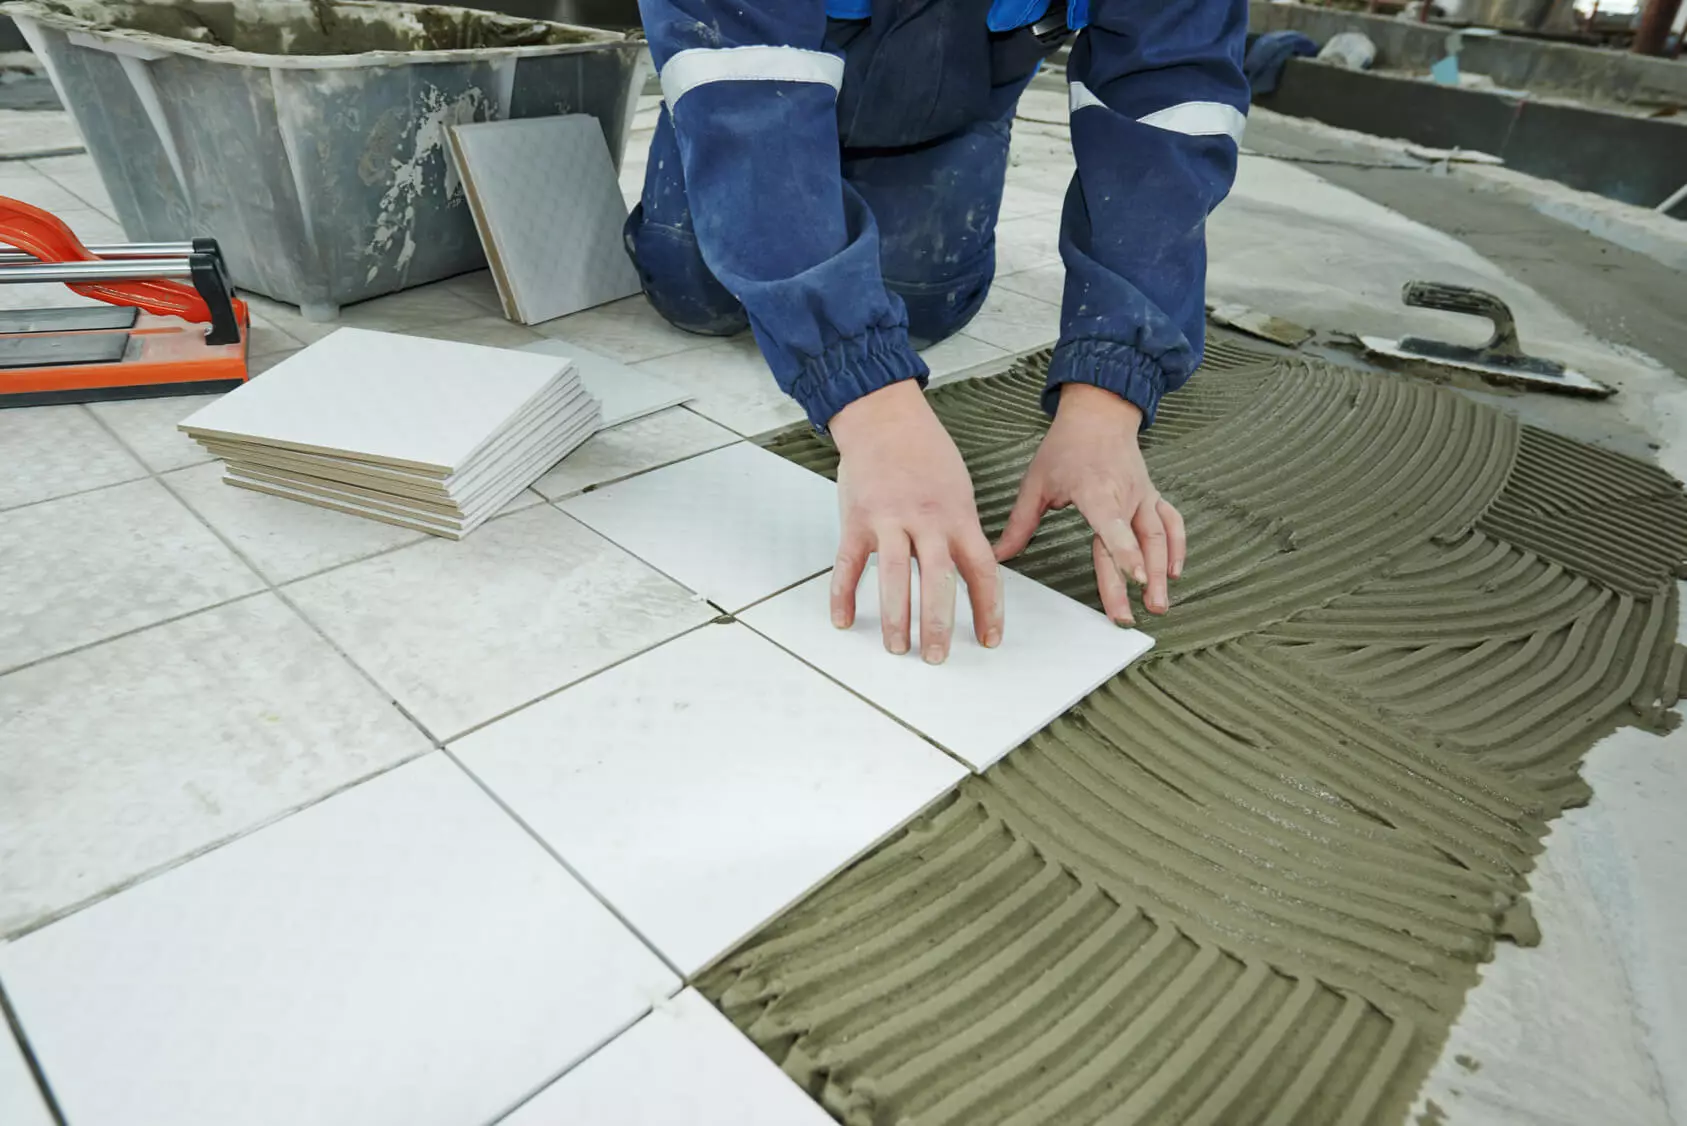
After removing the blue paper and gluing the tile to the linoleum, we placed a palm weight on each tile for 20-30 minutes. This aided the glue’s adhesion to the floor. You may use grout between these tiles, but because we were doing this for our laundry room, we kept it simple and put each hexagon level with the following hexagon.
Step 4: Cover the Room With Tiles
Lay tiles on the floor with weights till the room is completely covered, leaving open spaces near the wall for the final touches.
Step 5: Make a Template
My husband was using a blank sheet of paper or a pencil to rub out the tile shape and designate what size tile she needed to cut and put flat against the wall for the space along the wall.
Step 6: Cut the Tile
To cut your tile, use the paper template or a pencil to mark where you want to cut it. Then score the tile with a tool knife and a straight edge (do this on a scrap bit of timber so you don’t harm the other tiles), then bend it tile to break/snap.
“Heat the plank slightly with such a hairdryer to allow its plank to be fully cut with a razor knife for complex cuts around door jambs or moldings,” says the online tile instructions.
Step 7: Repeat Step 6
Rep this process until you’ve finished placing tile around the room’s perimeter using weights. “Roll the whole floor in length and width using a 100 lb. 3-section steel roller after installation,” according to the manufacturer’s instructions. Because of the tiny size of the room, we omitted this step, but if you have a larger space, a steel roller might be a fantastic option.
Step 8: Details
Reattach the quarter square trim molding, and you’ll need to caulk around the door with a dab of white caulk. We don’t have any images of this phase, but if you have any questions, send me an email or post a comment and I’ll respond with additional information!
Before reinstalling the appliances, we left our new floor for a few days to settle in (meanwhile I painted the laundry room walls). The tiles have been kept safe. I did see some black dirt on the tile, which turned out to be residual adhesive. It was easily cleaned with soap and water.

My name is Gwen Elmore. I post about home improvement ideas and how to make your home look beautiful and liveable. I hope my posts will help you with your DIY projects!


